Embedding Data Table FlexCards within OmniScripts in Salesforce


Step 1: Create a FlexCard
Navigate to OmniStudio in Salesforce.
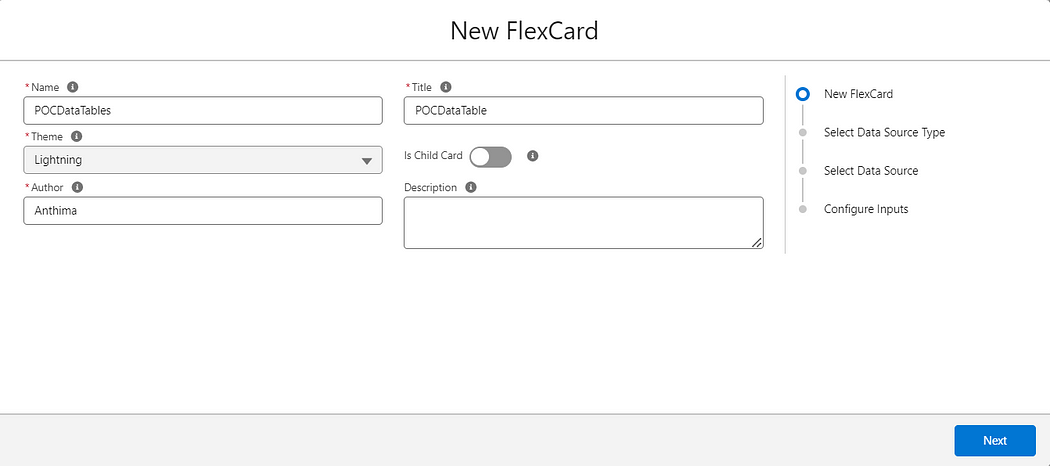
Search for “FlexCard” and click on “New” to create a new FlexCard.

3. Provide a name and author name for the FlexCard, then click “Next” and “Save”.
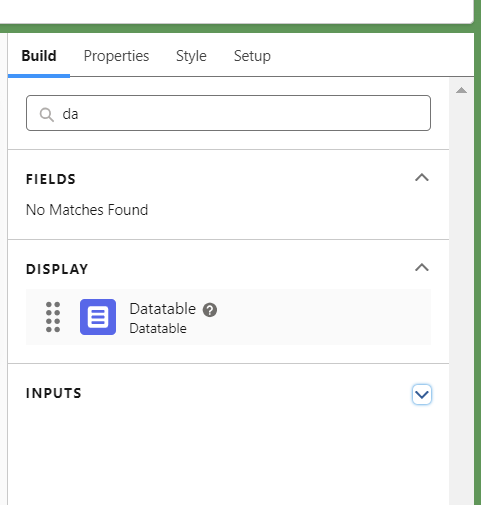
4. Drag and drop the DataTable component onto the FlexCard canvas
5. Configure the data source type to “SOQL Query” and write the query. For example:
SELECT Id, Name, Status FROM Contact WHERE CaseId='{recordId}'
6. Fetch the details and activate the FlexCard.
Step 2: Create an OmniScript
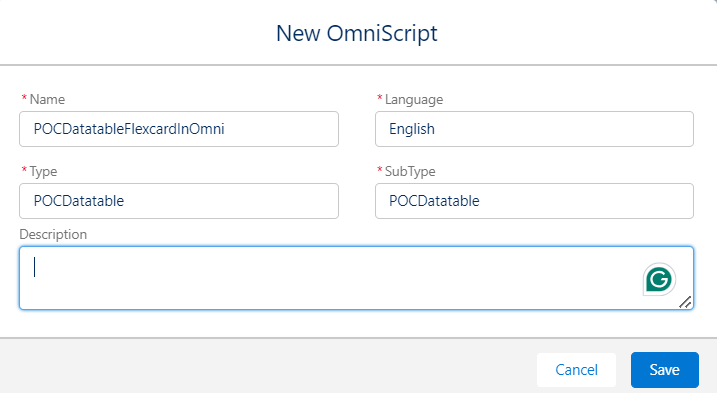
- Search for OmniStudio and navigate to OmniScripts. Click on “New” and give a name to the OmniScript.
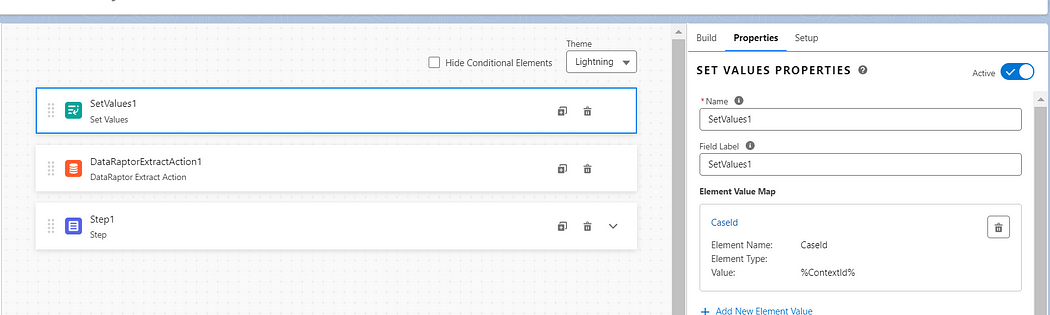
2. Set the value of the CaseId, which will be used to fetch related contact information.
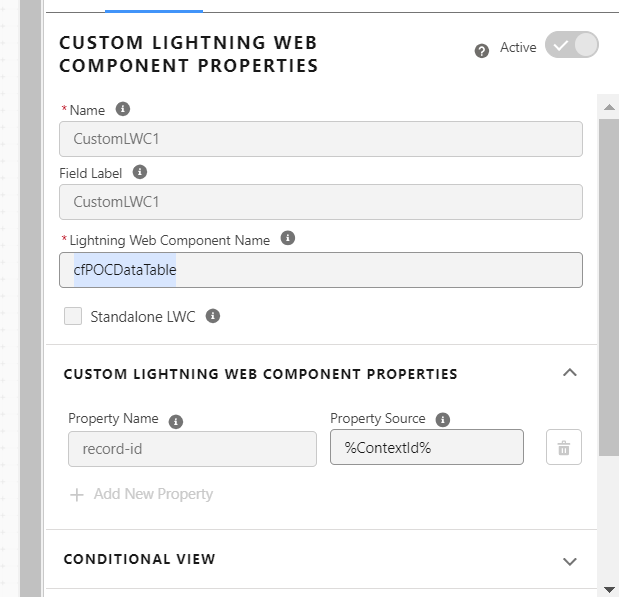
3. Drag and drop a Custom LWC component onto the OmniScript canvas.

4. Search for your FlexCard name (it will start with “cfyourflexcard”) and add it to the OmniScript.
5. Pass the attribute “record-id” with the value of “%contextId%” to link the FlexCard to the current record
6. Activate both the FlexCard and the OmniScript.
Step 3: Preview and Test
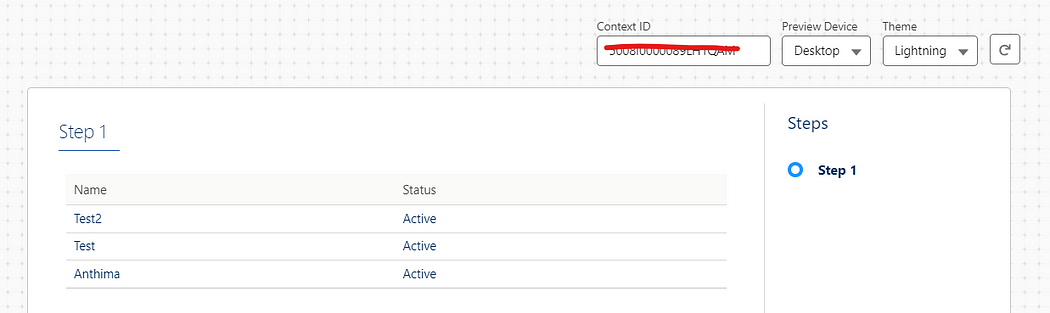
Preview the OmniScript and pass the context ID (e.g., CaseId) to view the FlexCard with relevant data.
Ensure that the FlexCard displays the contact information based on the provided CaseId.
In this blog, we learned how to seamlessly embed a Data Table FlexCard within an OmniScript in Salesforce. By creating a FlexCard with a customized DataTable component and configuring it to fetch relevant data using SOQL queries, we enhanced data presentation capabilities. Integrating this FlexCard into an OmniScript allowed us to dynamically display contact information related to a specific case record. Leveraging this powerful combination not only improves data visualization but also streamlines workflows, ultimately enhancing the user experience within Salesforce.